In this article, we will show you how to add a password to protect a website in Plesk. To limit public access to specific sections of your website, you can use password-protected directories. Trying to access that directory or any files inside it will require a username and a password.
How to add password-protected directories
1. Access your Plesk control panel through your HostPapa Dashboard.
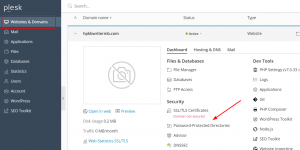
2. Go to Websites & Domains.
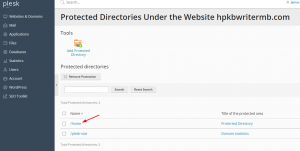
3. Click Password-Protected Directories.
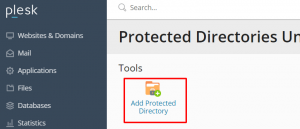
4. Click Add Protected Directory.
5. Add the path to the password-protected directory you want to add.
You can also add a title that will be visible to visitors. When this directory is created, you can change the title in the Directory Settings.
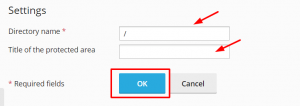
6. Click Ok.
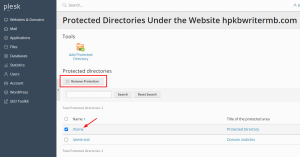
To remove a password-protected directory, you only have to select it and click Remove Protection.
How to add users to password-protected directories
1. Go to Websites & Domains.
2. Click Password-Protected Directories.
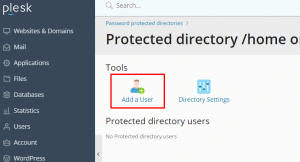
3. Click on the password-protected directory.
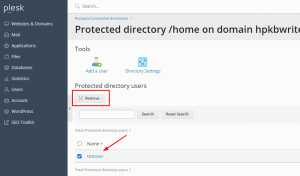
4. Click Add a User.
5. Enter the username and password.
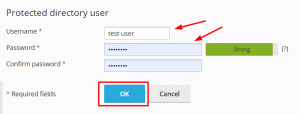
6. Click Ok.
How to manage users of password-protected directories
To change your user’s password, click on the user. A new window will open requesting a new password and confirmation.
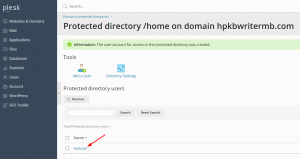
To remove a user, select the user (or users) and then click Remove.
If you need help with Plesk, please open a support ticket from your dashboard.
